

Knocking in is the single most important thing you will ever do to a cricket bat, and it is the thing most players rush. A new bat is a collection of soft willow fibres. Knocking in compresses and knits those fibres together at the surface so the bat can survive a hard ball travelling at 130km/h. Skip it and you will crack a brand new bat in the nets.
Here is exactly how we do it.
Step 1: Oil the bat first
Before a mallet touches it, the face needs a light coat of raw linseed oil. Oil keeps moisture in the willow so the fibres stay slightly flexible instead of drying out and going brittle.
- Use a teaspoon of raw linseed oil and rub it in with your fingers or a soft cloth.
- Cover the face, edges, toe and back.
- Avoid the splice, the handle and the stickers. Oil on the splice can weaken the glue joint.
- Lay the bat flat, face up, and leave it overnight.
- One more very light coat the next day is plenty.
The most common mistake is too much oil, not too little. A drowned bat goes heavy and dead. If the surface looks wet, wipe it back.
Step 2: Round the edges and toe
Start with the mallet on a slight angle along the edges, working from the toe up to the shoulder. You are not just hardening the wood, you are physically rounding the sharp corner of the edge over. A square, unrounded edge is a crack waiting to happen, because the first ball that catches it has nothing to slide off.
Do the same around the toe and the corners. The toe and the edges are where nearly every new-bat failure starts, so they get the most attention.
Step 3: Work the face
Once the edges are rounded, move onto the face. Straight down, firm and rhythmic, working from the toe toward the shoulder in overlapping lines. Start gently and build up force as the surface hardens.
Do not hit the edges square on with the mallet face. Always come in at an angle. And leave the last few centimetres below the splice alone.
Step 4: How long, really
Here is the honest number: six or more hours of solid mallet work, spread across several sessions rather than done in one heroic afternoon. Two hours a night for three or four nights is a good rhythm.
You will know you are getting there when the sound changes. A raw bat gives a dull, dead thud. A knocked in bat gives a firm, higher-pitched crack. Listen for it.
Step 5: The old ball test
Before you go anywhere near a new ball, take an old, soft ball and throw it against the face, then hit some gentle catches and short throw-downs. Inspect the face afterwards. Small seam marks are fine. If you are seeing indentations, you are not done: back to the mallet.
Step 6: Ease into the nets
Once the bat handles old balls without marking, take it to the nets against old balls only for a session or two. Then a used ball in a lower grade game. Only after that should it face a brand new cherry.
The whole process from wrapper to match ready should take a couple of weeks. It is not glamorous. It is also the difference between a bat that lasts four seasons and one that splits in three weeks.
What about anti-scuff sheets and toe guards?
Fit them after knocking in, not before. A face sheet protects a properly prepared bat, but it will hide problems in an unprepared one. A toe guard is genuinely worthwhile on Australian grounds, where hard, abrasive surfaces chew through toes.
Do you have to do it yourself?
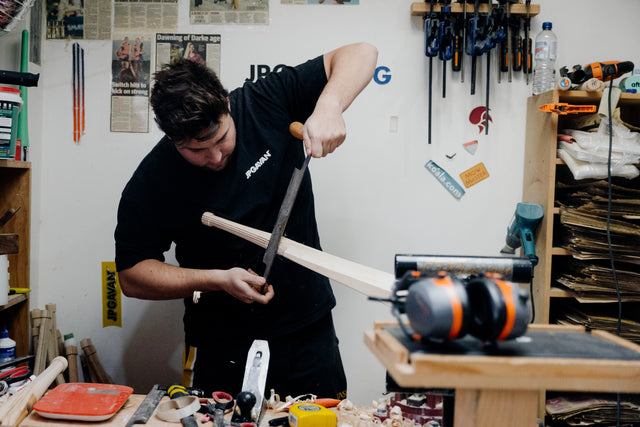
No. We have a knocking-in machine in the Sydney workshop that does a far more consistent job than any of us can with a mallet, and it only adds one to two days to a build. If you are ordering a bat, add knocking in to your order and it will arrive ready for the nets. It is the single best add-on we sell, and if you skip it, we would rather you knock the bat in yourself properly than turn up on Saturday with a raw bat.
One thing worth knowing: our warranty covers manufacturing faults from normal play, but damage caused by playing with an inadequately prepared bat is not a fault in the bat. The full terms are on our warranty and bat care page.
Ready to start? Build your bat and add knocking in at checkout, or browse the pre-made range.


0 comments